Showing posts with label home. Show all posts

Wednesday, November 14, 2012

Living Room Re-do!

A few weeks ago....I finally got around to putting up our updated family pictures from our beach trip. It was SO hard to decide what prints to order!!! And finding frames....HA! That's nearly impossible....or so I thought!!! 

I was able to score an AMAZING frame at the new HomeGoods for a whopping $14.99!! Not too shabby for a matted frame to hold an 11 x 14!!! I found ONE frame at Hobby Lobby & the rest at WalMart(!!!!!!shocker!!!!!!). It took me a while to figure out how I wanted to arrange them. But, after moving them around a million times, I finally had the frames situated the way I liked them. Once that was done, I was able to get a few "filler" pieces! I got two crosses & a big "S" from Hobby Lobby for all of MAYBE $10!! My wall was fairly inexpensive! And I must say, I'm pretty proud of it! Here's the finished product......


I LOVE the way it turned out!! And how the "random" frames!! All I need is a little something to go above the black & white photo of the kids........

*

I did two more little updates in the living room this month. Zoe decided to leave us a pretty little present on the area rug. So, it had to be replaced since it wouldn't come clean. I have been DYING to get a "shag" rug for the living room....and this was the perfect excuse to finally get it! 


It looks SO much better & is a lot more comfortable of a rug!!! And, you can't see the dog hair...or the dog!!!!

*

Next, I had to break down & replace my living room pillows. The ones I had were SUPER old. Like, almost 8 years old. And were home made. I had to wash them about a week ago.....and in the process, they ripped. Well, the two big ones did. I tried to make them work as long as I could. But, we were having company over last weekend & I couldn't bare to have them any longer! So, off to WalMart I went! I was actually really surprised at what I found! I love the subtle pop's of color!!! The living room totally feels more "homey" now! 


*

OH! Before I forget....we FINALLY got our back door replaced! Here's a peek at the NEW door & window treatments!!

Sorry for the horrible picture! I'll post more on this lovely experience later!!!!


Tuesday, August 21, 2012

"playroom" redo {before & after}

I FINALLY got around to putting my latest crafts on the wall upstairs. The only thing that's left to do is possibly find a replacement "toy box" or some sort of storage for the mounds of toys my five year old has accumulated in her little life. {my dad made one for ava's 1st birthday...it takes up a TON of space, is EXTREMELY heavy, & the lid is falling apart. awesome.}

So far, I'm pretty happy with the way the wall has turned out!!

{before}
kinda drab & not so kid friendly decor.


{after}
i must say. i'm proud of myself for redecorating the kids' play area upstairs. and. all for about $15! [gome!] i moved the off-white stars onto this weird wall between the bathroom door & grayson's bedroom. and the big swirly star thing is now on the weird wall next to the hvac unit. i'm still debating on if i want to revamp the stars with a little bit of paint.


**on a side note....my mom wanted me to make a koozie for one of her friends! apparently, her saying is "just one more" when they're out or having a get together! when you use that black fluffy stuff...spray it with a little bit of hairspray....it keeps it from going EVERYWHERE!!!**

Friday, August 17, 2012

"playroom" redo {update #1}

I can officially knock 1 1/2 projects off of my list for the kids "playroom" upstairs. I finished their monograms on canvas and got the board almost done to hang their artwork on. 

I say ALMOST done because the board that I ORIGINALLY wanted to do didn't turn out quite the way I had envisioned it to. {okay....NOTHING like what i had envisioned} When I wrote "Masterpieces" on it, in  my head it it looked awesome. Totally not the case when I held it up & actually looked at it. The letters first half of the word were nice & big & fairly even. But, as the word went on, the letters got smaller & smaller & somehow started to angle towards the top of the board. I tried sanding the letters off.....that was a mess. Oh, and, some of the clips i glued on fell off. BUMMER! Needless to say, it was a complete fail in the crafting department. I was ready to toss the board......

My mom gave me the idea to attach some string to the wall & use mini-clothespins to hang up their art. So, we ventured out to Hobby Lobby for some ideas. So, I got some plain wooden knob looking things & the mini-clothespins to paint. I'm still not 100% sure how I'm going to attach the knob thingies on the wall, but I'll figure it out! I plan on using either yarn or some black hemp cord stuff to string between the two knobs. I looked for something to hang above this....but couldn't find anything. 

Then it hit me. At 10:30 last night. I scrounged up some scrapbook paper that I had in my craft drawer & mod podged it onto the crappy looking board. Then, printed out the word "Masterpieces" in a cute font & TRACED it onto the dried board with a sharpie. The outline of the letters was a little sketchy, but gave me a good idea of where all the letters were supposed to be & they were all the same size & lined up neatly! I went over them with a black calligraphy paint pen. And I must say, I really like the way it turned out. Only one problem.........the notch in the back of the board is on the BOTTOM. I totally wrote on it upside-down. Seriously!? So. It looks like I'll be using on the of extra knobs & a little bit of ribbon to hang this sucker up. 


Now, I just need to figure out what color ribbon i want to use to hang it. I'm thinking either black or white. But that can wait until I get the knobs & clothespins done! I'm pretty happy with how everything has turned out so far!! Fingers crossed it all looks as good as I'm imagining it to!!

Hopefully my next crafty post will be of everything up on the wall! Fingers crossed for a cooperative Grayson!!

Friday, August 10, 2012

"playroom" redo {on the cheap}

I've fallen back into the grips of Pinterest. I was doing good at not spending hours on end looking at random things. And then my sister in law sent me a picture of a monogram that she made for her & my brother. Stupid me asked where she found it. I was then hooked. I am now wanting to decorate my house for fall & totally redecorate (and organize) the loft area upstairs. Getting back on Pinterest also made me want to go to Hobby Lobby. 

So. I've gotten a few ideas on what I want to do upstairs for the kids. There isn't very much space up there......but it's big enough for a few of G's bigger toys & A's massive toy box that my dad built. I hate the wall decor that I have up there now. Okay. I take that back. HATE is a strong word....I'm starting to "dislike" them. I want something that is kid friendly & gender neutral. 

{see. very BLAH. it looked good when the hubs desk was there. now...not so much!}

Here's what I've come up with : 

~ Canvas Monogram for each of them with their birth dates.

{So far I have the pages printed, mod podge, & blank 8 x 10 canvases. All that I need to do is attach the paper to the canvas & they'll be done! Easy Peasy!!}

~ Canvas Photo of each of them when they're around the same age. They both got AMAZING photos done when they were around 4-5 months old. So, I think I'm going to tackle making my own!!!
~ New toy storage.
~ Display for some of their art work. I LOVE this one.......


but don't really love the price ($57!!!). So, I decided to make my own. It's going to be my first project for the play area!        

       
I braved the lovely WalMart with both kids & picked up a few supplies. I spent UNDER $10! I already have an old wooden sign that I don't really like anymore & have tons of craft paint. So all I really needed was sandpaper, a paint marker, & the little clippy things. I didn't like that ones that were in the photo above because they didn't look like they would be easy to attach. Instead, I got the smaller ones that are attached to a magnet. I figured a little super glue or even hot glue would do the trick! 


My plan is to get started on this little project tomorrow. Along with the monograms! Fingers crossed it goes the way I want it to!!! I will post photos once they're done!


Wednesday, June 6, 2012

wednesday confessions

i confess....... i DESPISE laundry. with a passion. clothes are clean 99% of the time.....just not put away. they will stay in the laundry basket for days...usually until i get tired of looking at the ever growing mound in my bedroom. 


*

i confess....... as much as i love my kids, i honestly enjoy when they go down for a nap. grayson is awesome about taking a morning nap. ava, not so much. so she usually goes upstairs to take a "rest" for a little while. call me selfish, but i really need that hour, hour & a half during the day to myself. 


*

i confess....... it amazes me how quickly my house can go from semispotless to a total wreck in a matter of 10 seconds. this mostly happens once the hubs gets home from work. 


*

i confess.......  i HATE wires. almost as much as i hate laundry. when we got our new "entertainment center" i bundled up all of the wires and tried my hardest to make them non-visable. they seriously drive me nuts.


Tuesday, June 5, 2012

june5{sign}

This is a sure sign that the cat is ready to eat. She won't leave the pantry door.....

*

Wednesday, May 9, 2012

photo a day{may9 : something you do every day}

laundry around here is never ending. the past two days i have put off touching these baskets. all of our laundry is clean.....however....i just don't feel like folding it. sad. i know.

Tuesday, May 8, 2012

photo a day{may7-8}

I know. I missed 2 days. Things have been a little hectic around here....

may7{someone that inspires you}
cheesy....i know. but my kids.


may8{a smell you adore}
i am in LOVE with "perfectly pomegranate" by scentsy. like seriously. and i have my neighbors 2 year old to thank :)

Thursday, May 3, 2012

photo a day{may1-3}


May has started off as a quiet month. But it's still early. So I won't jinx it! We have a LOT of fun & exciting things coming up in the next few weeks.....first up is Ava's first t-ball game! I can not WAIT!! 

**

may1{peace}
enjoying some peace & quiet while the kids nap.


may2{skyline}
love the view out of the back door.


may3{something you wore today}
ava insisted that i paint my toes to match hers. i love this girl.

Saturday, April 28, 2012

photo a day{april28:1pm}

both kids napping. floors mopped. laundry done. dishes washing.
time to be lazy.

Thursday, April 26, 2012

photo a day{april26:black&white}

who knew the kitchen floor was the popular place to play today!!

*
*

Friday, April 20, 2012

photo a day{april20:something you drew}

i am in love with my chalkboard creation on the pantry/laundry room door!!!

Thursday, April 19, 2012

photo a day{april19:orange}

gerber daisies are my most FAVORITE flowers of all time. so when i saw that publix actually had pretty, not fully bloomed gerbers.....i had to get them!

Saturday, March 31, 2012

Friday, March 30, 2012

Wednesday, March 28, 2012

photo a day*march28{trash}

somehow i forgot to post this one! oops!!

I cleaned out Ava's toy box & closet. This is what she decided to get rid of!!! I'm so proud of her!

Thursday, March 22, 2012

photo a day catch up!!

So. Again, I've fallen behind. I'm sorry. I get lazy & forget or just get super busy & forget. But any who......here we go playing catch up!!

march20{before&after}


he can seriously make a huge mess in less than five minutes!


march21{delicious}

we made cookies today. and i forgot to take a picture. oops.

march22{kitchen sink}

it's amazing that there are only TWO dishes in my sink!!!


Friday, March 16, 2012

technology....you anger me.

so i had this really nice, LONG post about how i am in LOVE with chalkboard paint.....pictures & all. hit the save button. went to the kitchen to get coffee. came back. it was GONE. totally GONE. except for ONE picture. seriously!? my laptop was closed. my phone was with me. i have no idea what happened! gah. so frustrating!

so here's the quick version........

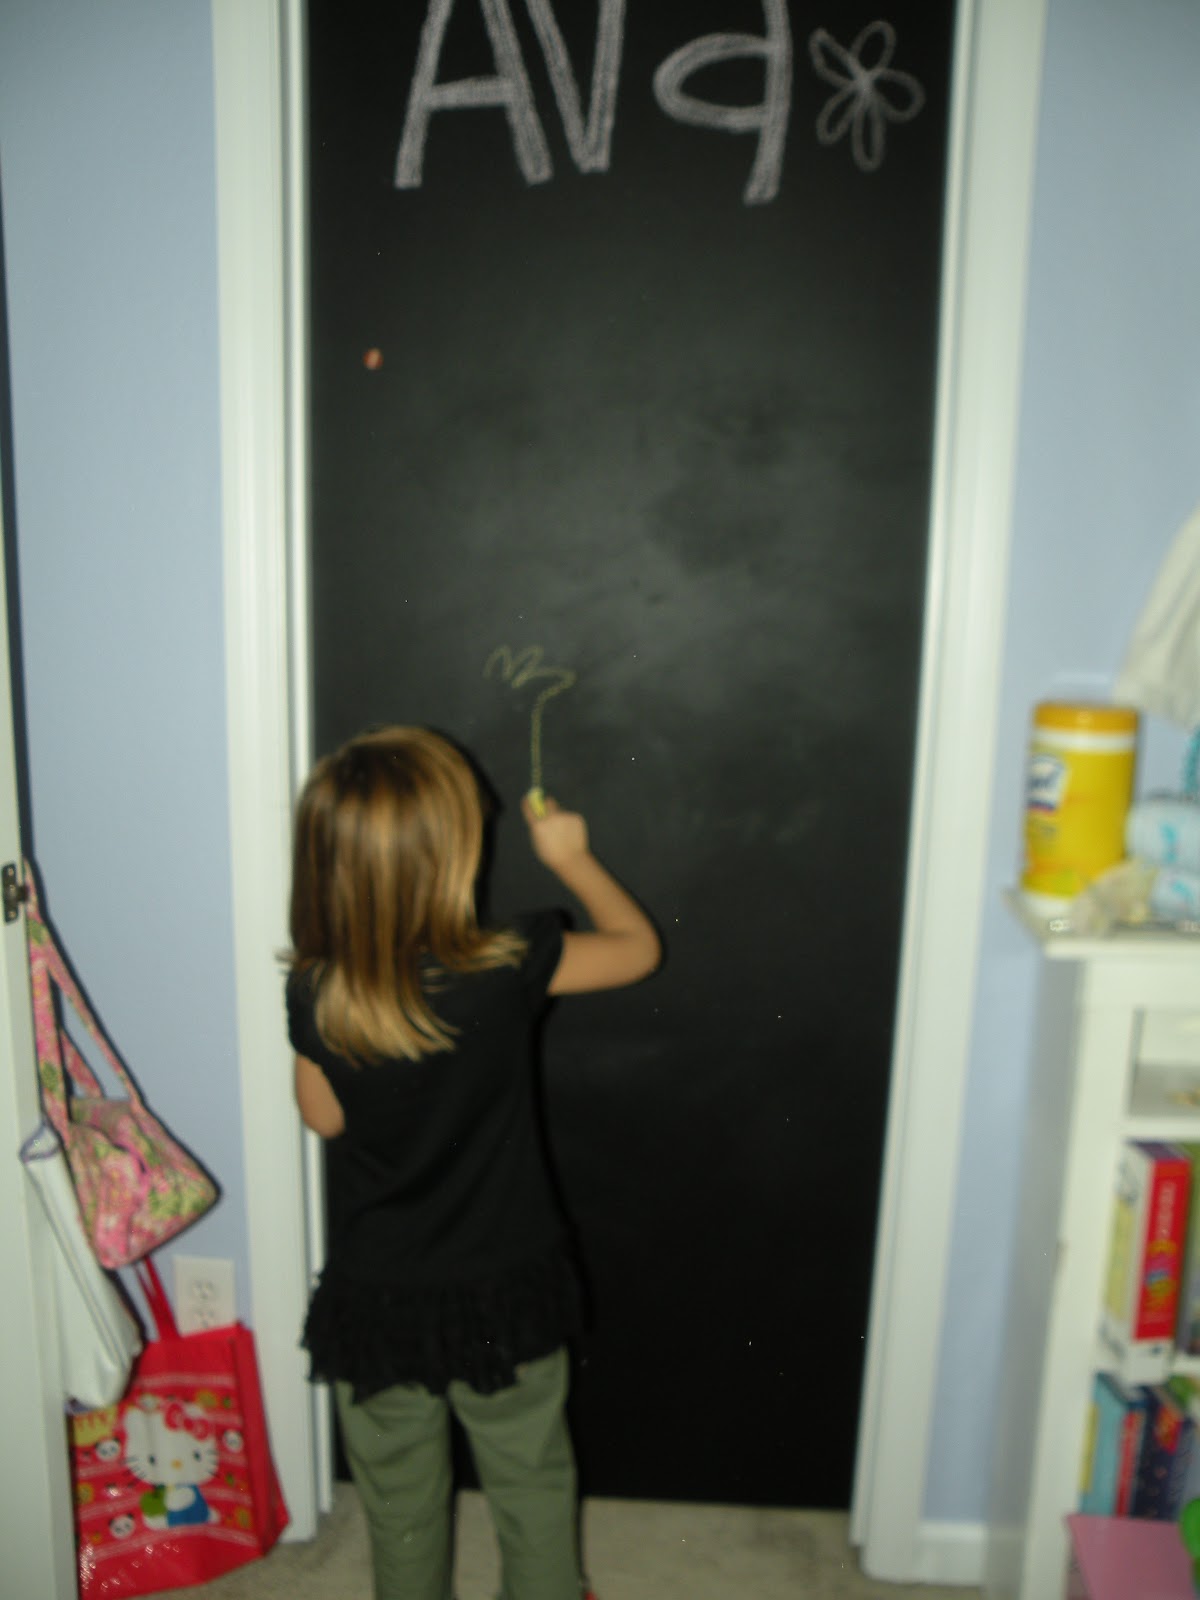
back in october i got the craft bug. big time. i wanted to create a chalkboard wall somewhere in our house. i thought about putting it upstairs on our 1/2 wall. but that would have required building a frame & mounting the frame, along with a huge piece of ply-board, on the wall. honestly, i didn't want to do all that work. i couldn't just paint a wall because we have textured walls. and i really don't think they'd be good for writing on with chalk. so, after looking at pinterest, i decided to do ava's closet door. she went to florida for a long weekend with my parents, so that was the perfect time to get it done. the hubs took the door off the hinges & i went to work. i used a can of magnetic paint first. and then applied 2 or 3 coats of chalkboard paint. and let me just say.....i LOVE it!! and so does ava! it's so fun to decorate it for the holiday's & leave her little notes! we even did her christmas countdown on her door! 

 *

well. i only used maybe 1/2 of the can of paint. and in maybe december or january, i got the bug to paint something else with the chalkboard paint! ava has a white table that my parents got her for christmas a few years ago. because it was white, it was starting to look dingy & had some nice crayon/marker spots that i couldn't get off for the life of me! so....i pulled out the can of paint & covered the top of the table! i left a little bit of a white boarder around it just because i didn't want it to look too dark. both ava & grayson like sitting at the table to draw! 


painting the table hardly used up any paint.....and again....this week.....i got the bug to paint something for my kitchen. i was thinking about doing a wooden sign to hang up on the pantry door for our weekly menu & any miscellaneous grocery items we would need. however, i had the hardest time finding exactly what i was looking for. so. i found a basket that we used for grayson's toys (when there were just a few!) that was the perfect size & shape that i was wanting. it was kind of an oblong oval. so i traced it directly onto the pantry door. painted it. and hated it. it looked like an egg. so then i made it into a rectangle. and i'm still not happy. i'm HOPING to find a thin frame to mount around it to give it some texture....or maybe even a vinyl wall sticker to go around it. it just looks so BLAH right now.


so there's my door. it just looks so plain. fingers crossed for a successful trip to hobby lobby tomorrow with the photographer friend!!!